Aftercare
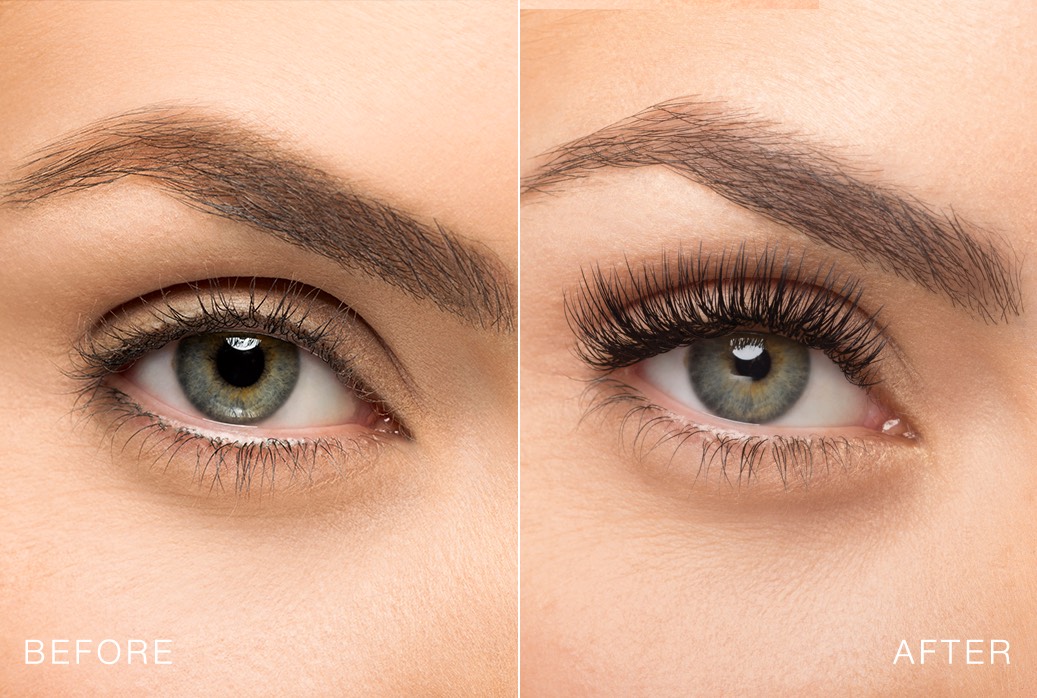
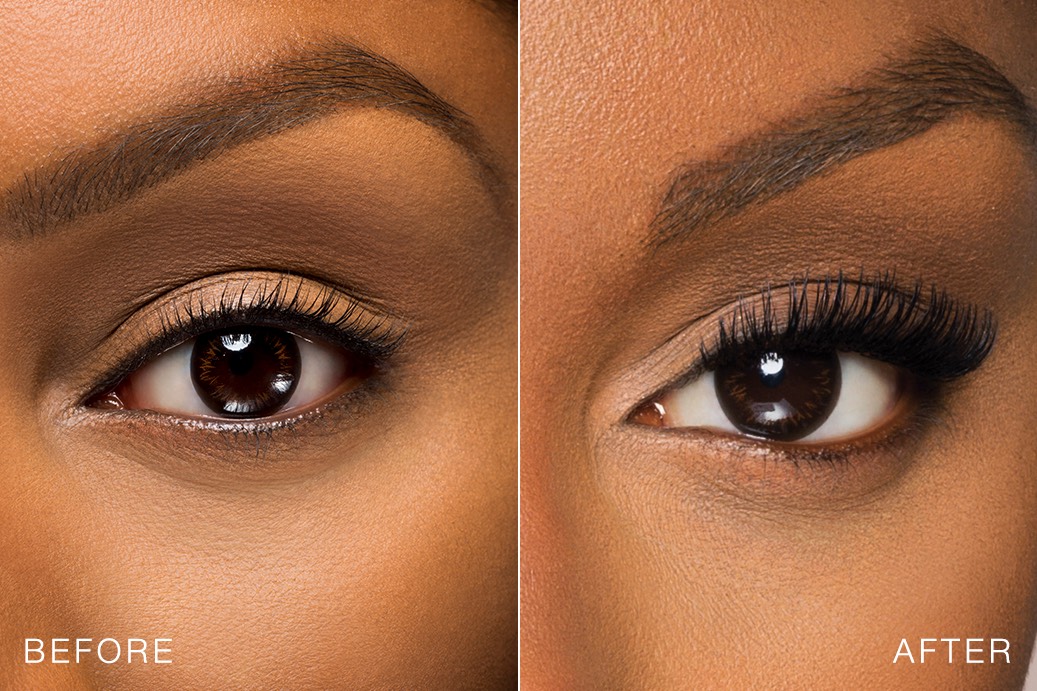
How Do You Care For Your Lashes After a Lash Lift Treatment?
The first 24 hours after your treatment are critical and you MUST follow the steps below to ensure your lift does not drop and to ensure longevity of the treatment. At this early stage, your lashes are still delicate, and the lift is working its magic which means you need to be as careful as possible.
After the first 24 hours, you can resume your normal daily life with your fabulous lashes! However, we recommend you continue to use a Lash Conditioner such as LASH & BROW KERATIN. This amazing product will brush your lashes up into place and aids in nourishing, strengthening and protecting your lashes. Filled with the most gorgeous ingredients such as keratin, biotin and panthenol you can be sure your lashes are exposed to only the most beneficial ingredients.
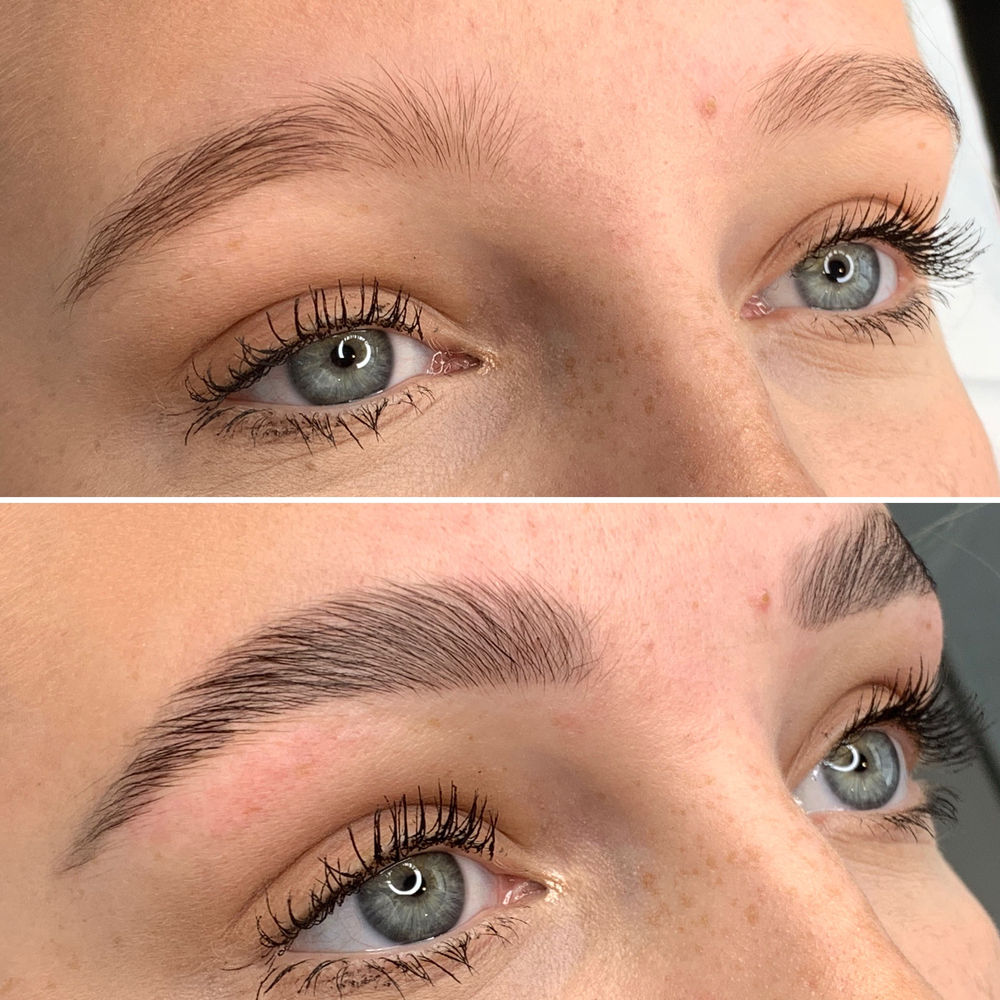
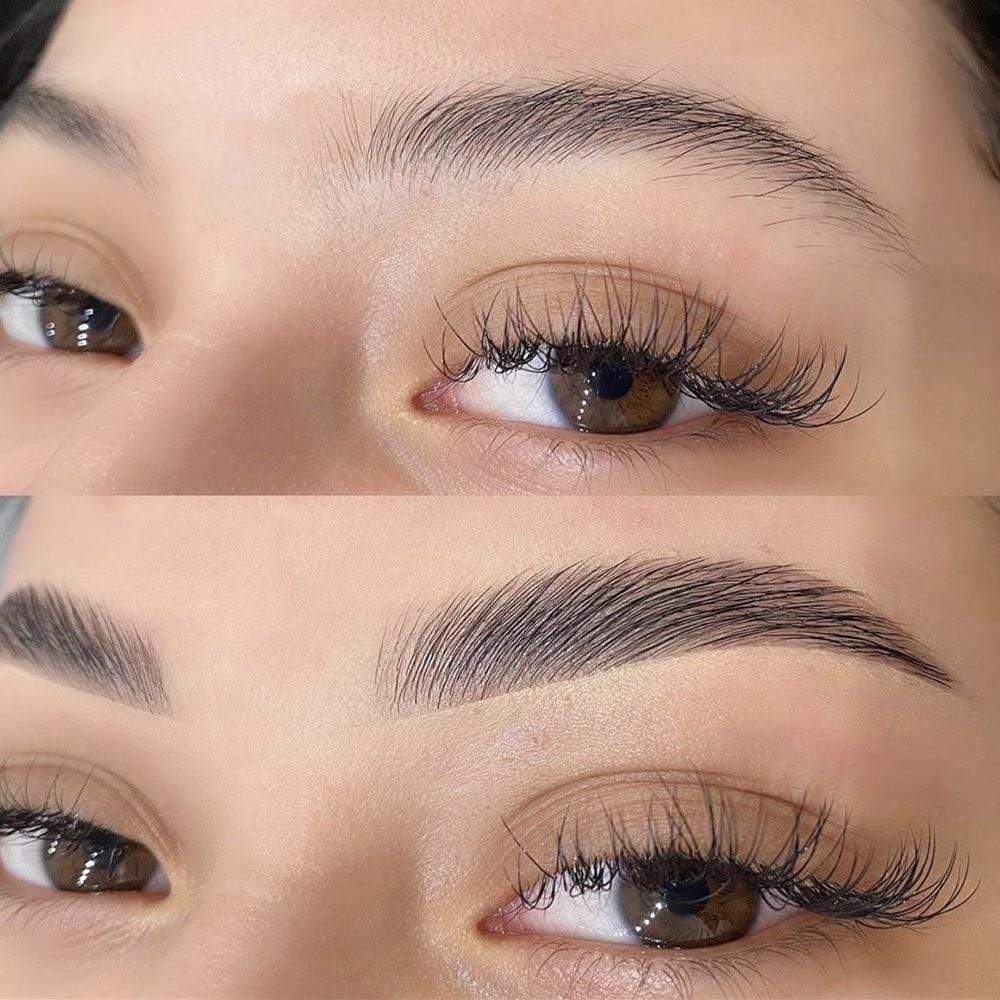
How Do You Care For Your Brows After a Brow Lamination Treatment?
Just like lash lifting, brow lamination follows the same rules as the first 24 hours being the most critical to ensure longevity. Following the steps below will ensure your brows are healthy, hydrated and strong after a brow lamination treatment. If you do not follow good aftercare post treatment, it may result in brittle, damaged brow hairs.
After the first 24 hours you can resume your normal daily life with your fabulous brows! However, we recommend you continue to use a Brow Conditioner such as LASH & BROW KERATIN. This amazing product will brush your brows up into place and aids in nourishing, strengthening and protecting your brow. Filled with the most gorgeous ingredients such as keratin, biotin and panthenol you can be sure your brows are exposed to only the most beneficial ingredients. Remember, brow lamination is a low maintenance not a no maintenance treatment which means you will need to brush your lashes into place each morning.
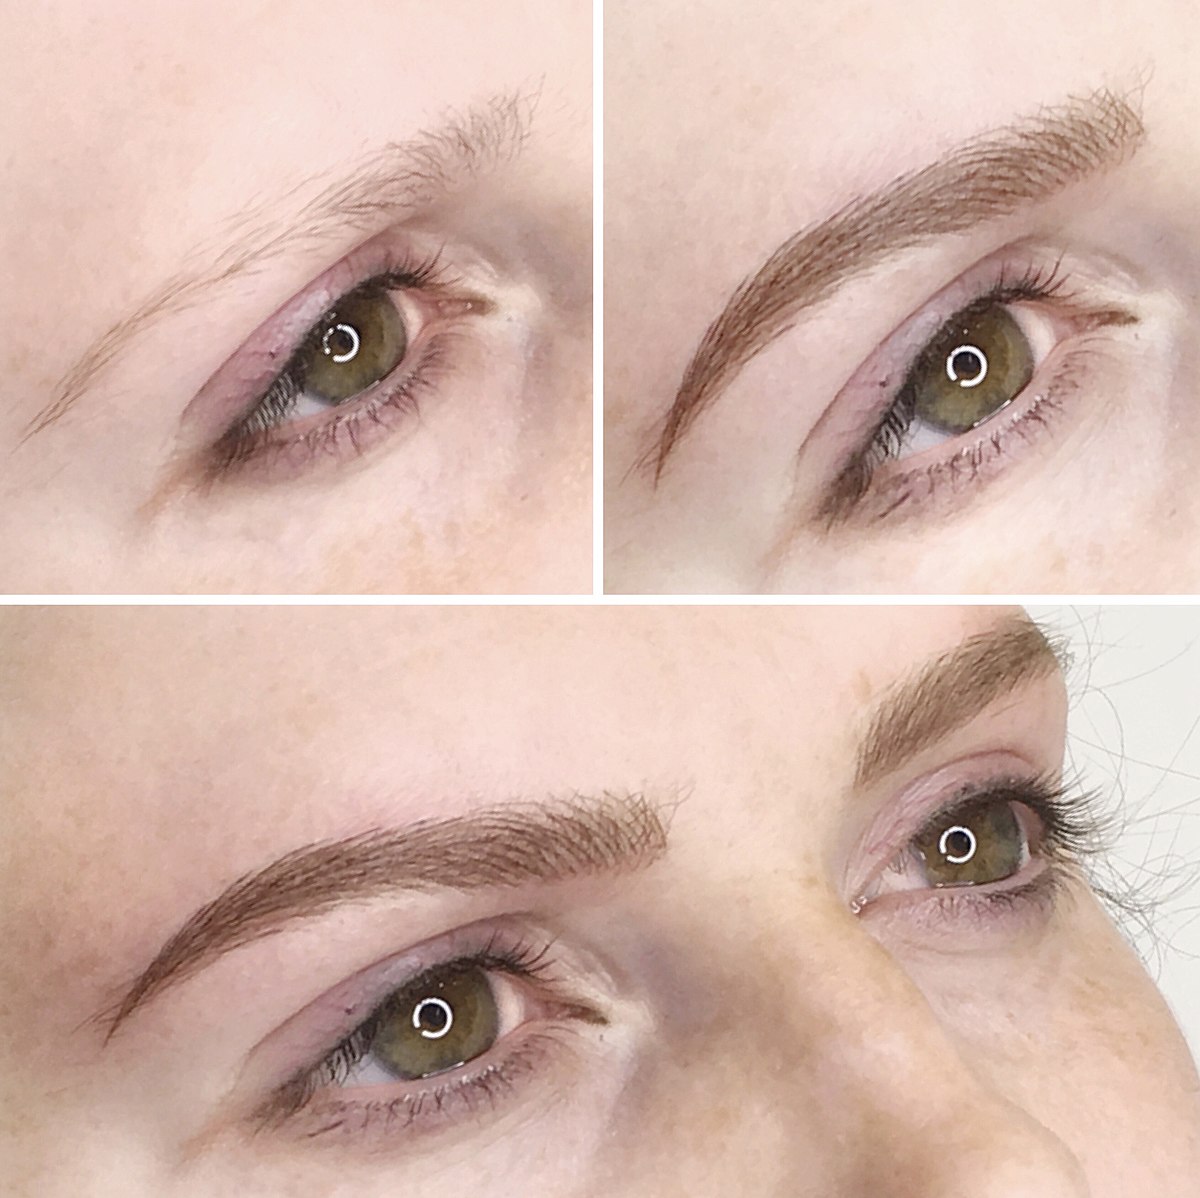
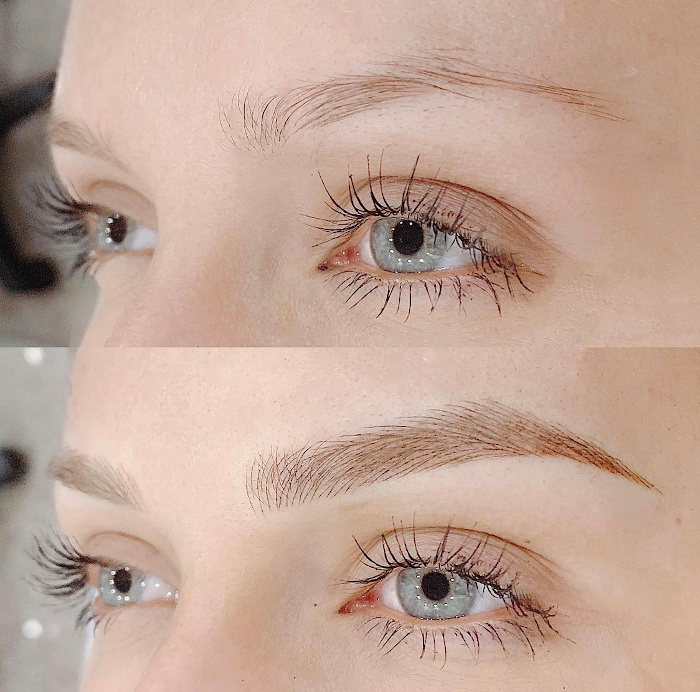
How Do You Care For Your Brows After a Microblading Treatment?
Please be patient, for the final result may take up to 5-10 weeks.
Please follow these instructions to ensure proper healing and color retention. Please note that color appears darker for a few days after your treatment. Do not worry, this is temporary. Color will soften and will appear more natural as the healing progresses, we promise! It is normal to experience peeling of pigment. Fading or loss of pigment may occur during healing, in fact, it is expected, especially for your first treatment! Do not pick. Allow it to fall off naturally.
Please AVOID for the NEXT 7 DAYS
Please AVOID in the NEXT 30 DAYS
Microblading Healing Process
While every person is different and some heal more quickly or slowly than others, here’s generally what to expect following your eyebrow procedure:
Day 1 to 2
Day 3 to 7
Day 8 to 30
What To Expect From the Procedure
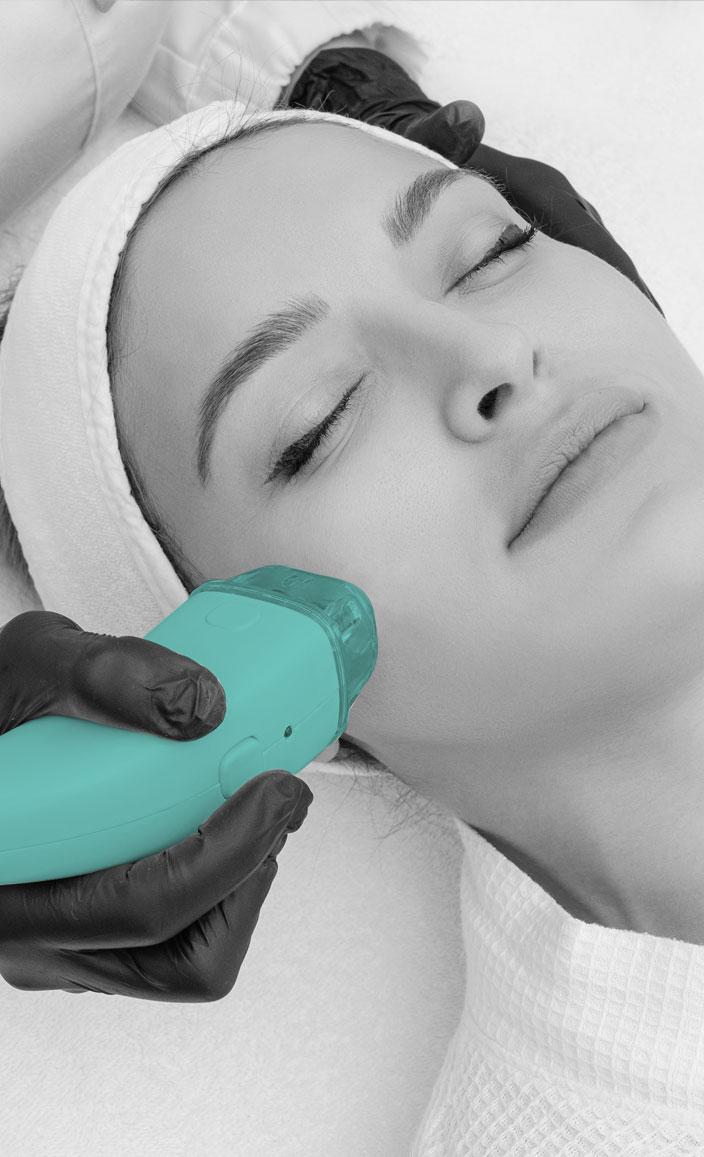
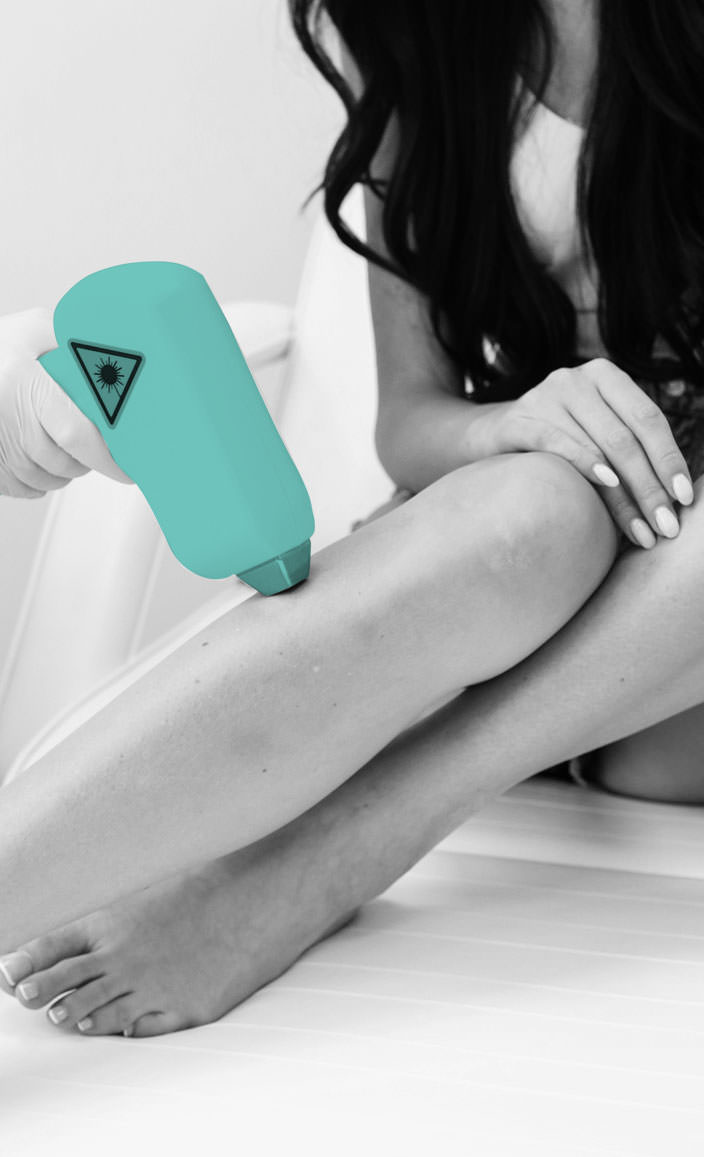
While some people tolerate this treatment easily, others might experience minor discomfort to non. Some people have described it as having their skin lightly snapped with a rubber band. However, the discomfort only lasts for a second or so, and by the time you experience it, it is over.
Discomfort can be avoided by the use of a topical anesthetic before treatment. You may also wish to take a pain reliever pill such as ibuprofen approximately 30 minutes before your appointment as long as you can safely do so. If you have ever had your skin waxed, you should know that laser hair removal is not nearly as painful as the waxing process.
The time for each session varies depending upon how large a body surface you are going to have treated. If you are planning to get parts of your face lasered, your specialist is going to give you a pair of goggles or sunglasses so that your eyes are protected throughout the treatment.
After the procedure, any redness or irritation can be soothed with ice packs or cold compresses. These minor side effects should go away within a few hours or at most a couple of days. Some people describe their after-effects as mild sunburn, while others do not have any noticeable difference.
Laser hair removal should be done in a series of 4 – 6 treatments so different stages of hair growth can be treated and removed. Each treatment should be scheduled between 2 and 10 weeks apart. In between treatments, you are going to notice that any hair growing in comes in much finer and in a sparser way.
With this safe procedure, you are not going to receive any ingrown hairs as you might with waxing. In fact, since you are destroying hair follicles, you are not giving them the opportunity for ingrown hairs to occur. Once you have finished your series of treatments, you should have either the complete removal or an extremely substantial reduction of hair. This enables you to enjoy the freedom that comes from not being a slave to your razor several days a week.
How To Prepare for Your First Laser Hair Treatment
There are certain steps that you can take to ensure that you receive the highest results while minimizing any chance of irritation. If you follow them as best you can, your risk of discomfort should be eliminated or greatly reduced and the efficacy maximized.
Generally, your practitioner is going to ask you to shave your hair with a new razor about 24 hours before treatment. This is because the laser targets hair follicles just below their surface. Be sure to go to your appointment with bare skin that has not been moisturized.
For the laser to work properly, it is best to cease certain hair removal methods for at least a month beforehand. When you wax, sugar, pluck or receive electrolysis, the hair follicle is disrupted. This may interfere with the results you get from your laser hair treatment, so just avoid them altogether.
Try to avoid direct sun exposure for several days to several weeks before your laser hair treatment appointment. If you do happen to spend a significant amount of time outside, cover up as much as possible and use a comprehensive sunscreen. Do not get an artificial tan either, since the darker skin that follows makes laser skin removal more difficult.
And, avoid drinking any alcohol the night before your treatment. This way, you do not run the risk of having a hangover, which no doubt makes any kind of procedure more uncomfortable.
Remember to let Your Practitioner Know About Any Prescriptions
Be sure you discuss ahead of time any medications that you may be taking since they might affect how your skin tolerates the procedure. For example, if you are on antibiotics for an illness you may want to wait until you have finished the course of the medication.
Since antibiotics happen to be photosensitive, having your treatment while taking them could cause your skin to experience hyperpigmentation or even a burn from the laser.
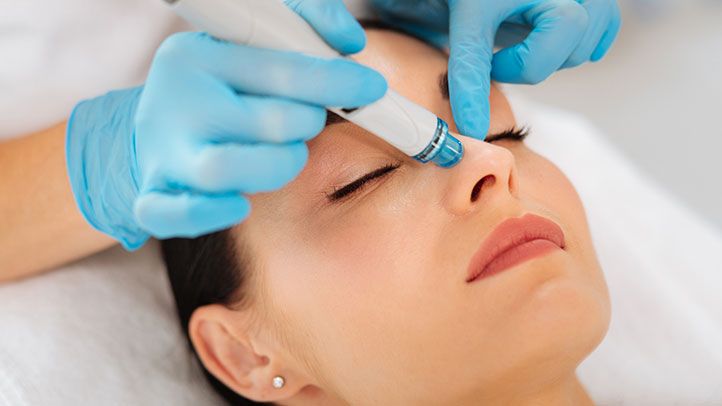
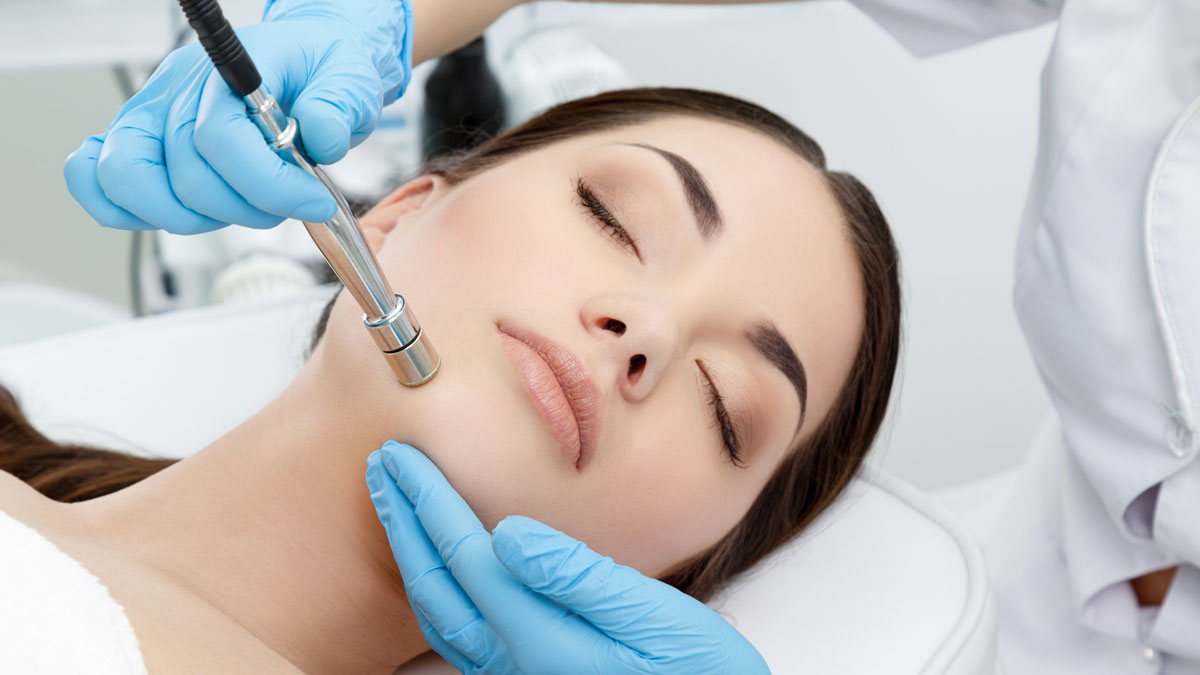
What to Expect on Your Microneedling Service
It’s crucial that you discuss past treatments and recurring skin conditions with your licensed Aesthetician or nurse. This enables them to quickly pinpoint any condition or previous treatment that might contradict the effectiveness of a microneedling procedure. Your skins specialist will evaluate your skin type and check that the area to be treated is free of any:
These checks will help determine how deep to go, and necessary precautions that need to be taken before the procedure. For example, if you’ve received isotretinoin, you will not be able to undergo a microneedling process until six months after the isotretinoin treatment.
Procedure
Depending on the method applied, the area of the skin and device used, a micro-needling procedure lasts between 30-45 minutes. For safety and precision, sterile needles with disposable tips are used in the procedure. To numb the pain, a topical anesthetic cream is applied to the skin’s surface after makeup and cream residues have been removed off the skin. The dermatologist proceeds to create tiny punctures on the intended sites with a dermaroller, derma-stamp or dermapen. After which an ice pack, a saline formula or hydrating mask is placed over the operated surface.
You should note that in some instances, negligible pinpoint bleeding might occur which is nothing to worry about, as it can easily be controlled.
Frequency
Microneedling Devices
Commonly used microneedling devices include Dermapen, Derma-stamp and LED microneedling devices, either of which may make use of silicone, metal or glass hollow microneedles.
After Effects
Following the treatment, you may feel stinging sensations on thin skin surfaces, especially around the eyes or on your neck.
Post-Treatment Care
Benefits of Microblading
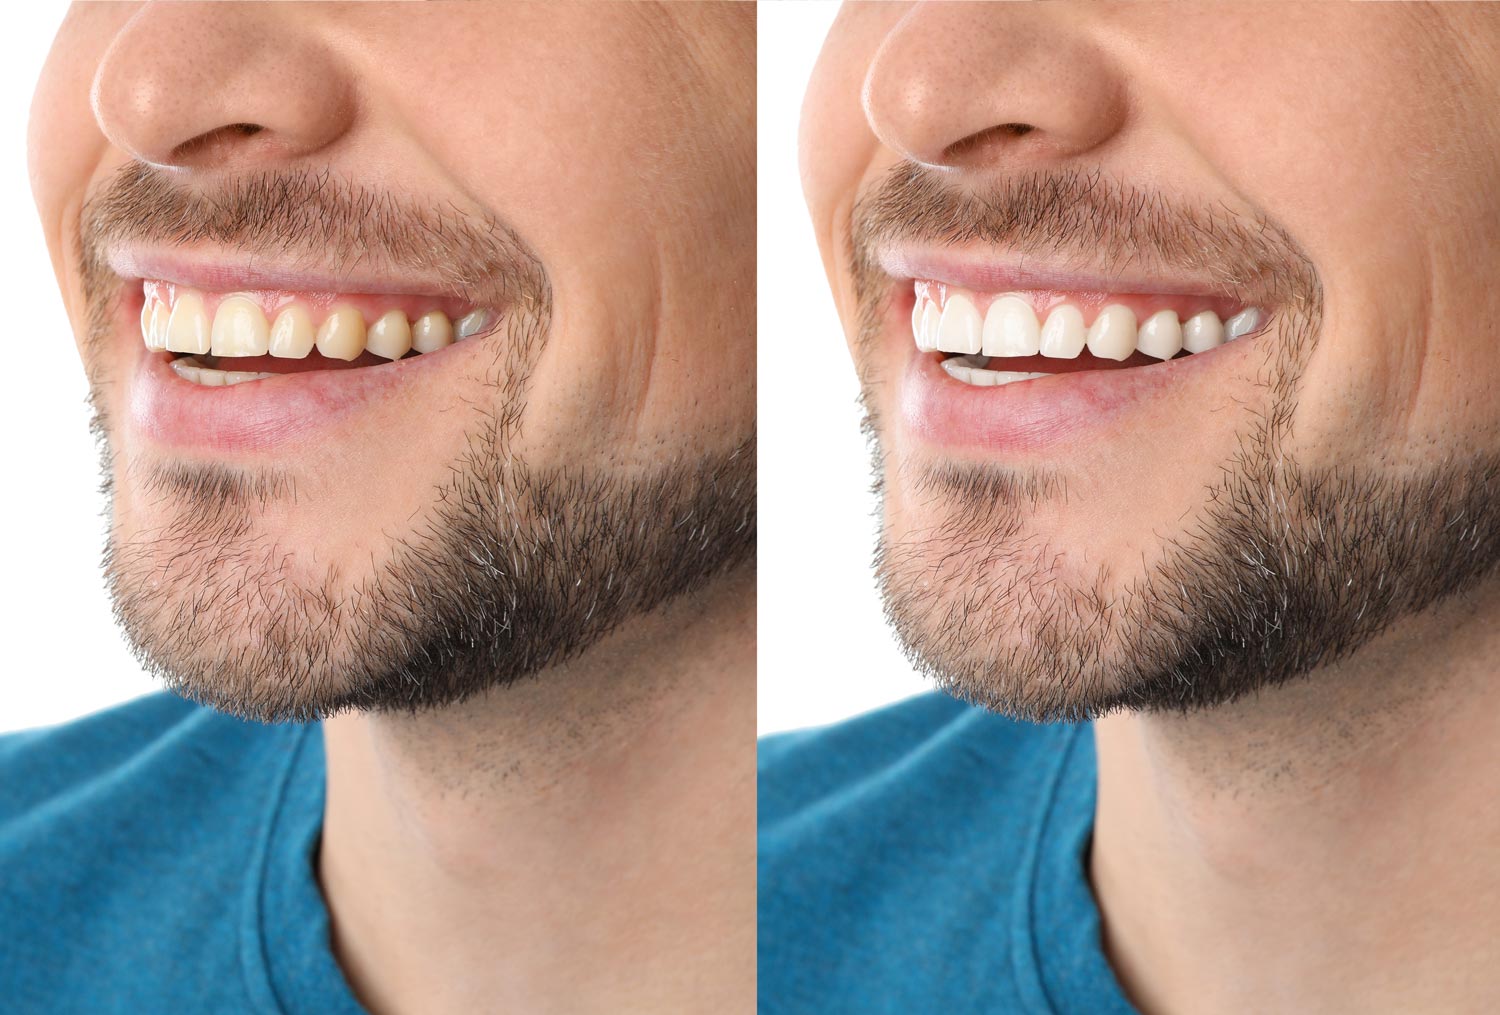
Getting Teeth Whitening
The order of steps in teeth whitening will depend on the treatment that the patient needs. Most of the time, treatment is provided using a gel of hydrogen peroxide. We use a stronger solution than an at-home kit. This is why the results are often more noticeable. The nurses or licensed technician will examine the patient’s teeth just before the procedure to see if there are any last-minute issues. If not, the patient’s mouth will be prepared for the treatment then.
Precautions Before the Treatment
The procedure will begin with the patient’s mouth being protected from the teeth-whitening solution. We will place a lip retractor to keep the patient’s mouth open. There is a section at the back of the retractor. This will allow the patient to bite down so that the jaw muscles can relax.
The patient will also have gauze placed in the mouth to keep the teeth dry. We will then place protections to keep the lips, gums and inner cheeks clean. A rubber dam will be painted on the gums. This protects the gums from the strong whitening solution, which will help to reduce sensitivity in the long run.
Then the inner cheeks and the lips will have a muco-protectant gel. This protects the tissues from the peroxide that the bleaching agent uses.
Beginning the Teeth Whitening Treatment
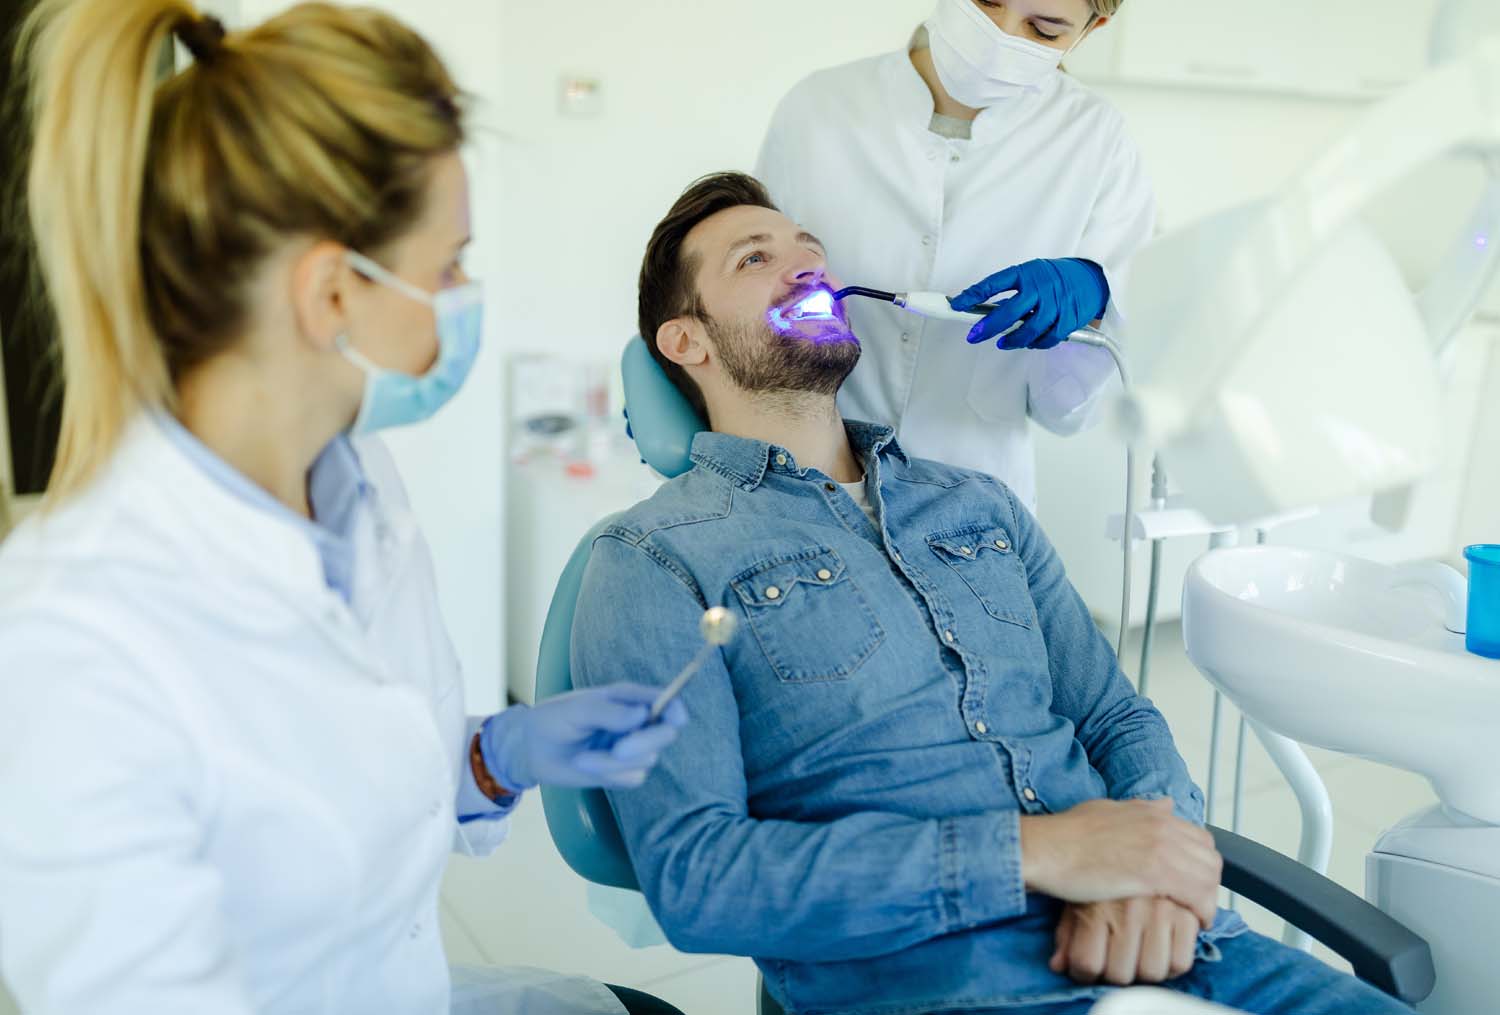
During a professional teeth whitening treatment, the gel will be activated using a laser or a light. This means that results are often very noticeable after just one appointment. The nurse or licensed technician will use a brush to paint the gel on the patient’s teeth. If a light is being used, it will be switched on and pointed at the gel.
The light will be left on the patient’s teeth for about 15 to 20 minutes at a time. The length of time will depend on how strong the whitening solution is. For stronger solutions, the time will be less than with weaker solutions. The light will cause the oxygen in the gel to sink deeper into the patient’s teeth. Once the right amount of time has passed, the dentist can remove the teeth whitening solution.


Address
Jersey City
Hours
Jersey City
Mon - Fri: 10am - 8pm
Sat: 10am - 7pm
Ridgewood
Mon - Fri: 9am - 7pm
Sat: 9am - 7pm

